Deploying a Vue JS app to Heroku

This article details the deployment of a Vue JS application using Heroku. At the end of this article, you will be able to :
Know what Heroku is
How to deploy a Vue JS application to Heroku
What is Heroku?
Heroku is one of the popular cloud platforms that enable the possibility of applications being built, run, operated and deployed to the cloud.
Now, let us go straight to the details.
To deploy a Vue JS application, Navigate to the directory which contains your Vue Project using the command:
cd *name of folder*
where name of folder should be replaced by the name of the folder containing the files of your application, then run this command:
npm run serve
which starts up your server and makes it possible for you to view the application you have created type in this link into your browser:
localhost:8080
Next, you should run:
npm run build
this minimizes the files contained in your folder and prepares the application for the final phase of its development. When this is done you should get a message in your terminal that reads like so:
Build complete. the dist directory is ready to be deployed.
Now, we will have to install a node server for Heroku to be able to communicate with our application, this is done by using this command:
npm install express serve-static --save
After this is completed, create a new file in your application folder, this will be a stand alone file and should not be in any sub-folder, title it server.js. Now, copy and paste this snippet of code into the server.js file:
const express = require('express')
const serveStatic = require('serve-static')
const path = require('path')

const app = express()

//this serves files from the dist directory which holds the index.html file
app.use('/',serveStatic(path.join(__dirname,'/dist')))

const port = process.env.PORT || 8080
app.listen(port)
What is happening here?
This snippet of code creates an application which makes use of Express.js and makes it possible for us to be serve the distribution folder (which is the index.html file located in the src directory) whenever we navigate to the root folder of our application which will be hosted to the environment port:8080 and connection will be listened to.
We now need to tell Heroku to listen for application and that can be done by adding a start script to the package.json file, to do that open your package.json file, at the top of the file you will see the scripts block, inside the curly braces add:
"start": "node server.js"
Open the git.ignore file and delete the /dist text - we do this so that our distribution folder (a folder created when we run npm run build and used for production purposes) does not get ignored by git.
Now, we are done with setting up our application for deployment. Visit Heroku in your browser and create an account. In the dashboard select New and select Create New App

This directs you to another page where you create an app name and choose a region - the reason for this option is due to regional cloud hosting, this means the closer the region is to you, the better the performance - so make sure to choose the region closest to you.
After this, you will be directed to another dashboard where you begin the deployment of your application using heroku git.
Install the Heroku CLI (if you have not already) click on the link which leads to a page where you can download Heroku depending on your operating system.

I use a macOS and this command served as an alternative, although it will not be compatible with a Window OS:
curl https://cli-assets.heroku.com/install.sh | sh
To check if Heroku is properly installed, run this command:
heroku --version
Now, restart your code editor and/or terminal which is being used to run the commands. Run this command:
heroku login
this prompts you to input your login details and also displays your email and password (in asterisks)
After this is done, you can initialize git if you have not already when working on or creating or app using:
git init
Also run:
heroku git:remote -a * name of your app *
where name of your app implies that you replace this with the name of your aown application. In the image below, the name of the application is the name (dog-shop--api) given when I used the 'Create New App' option on Heroku - that is the name to be used.
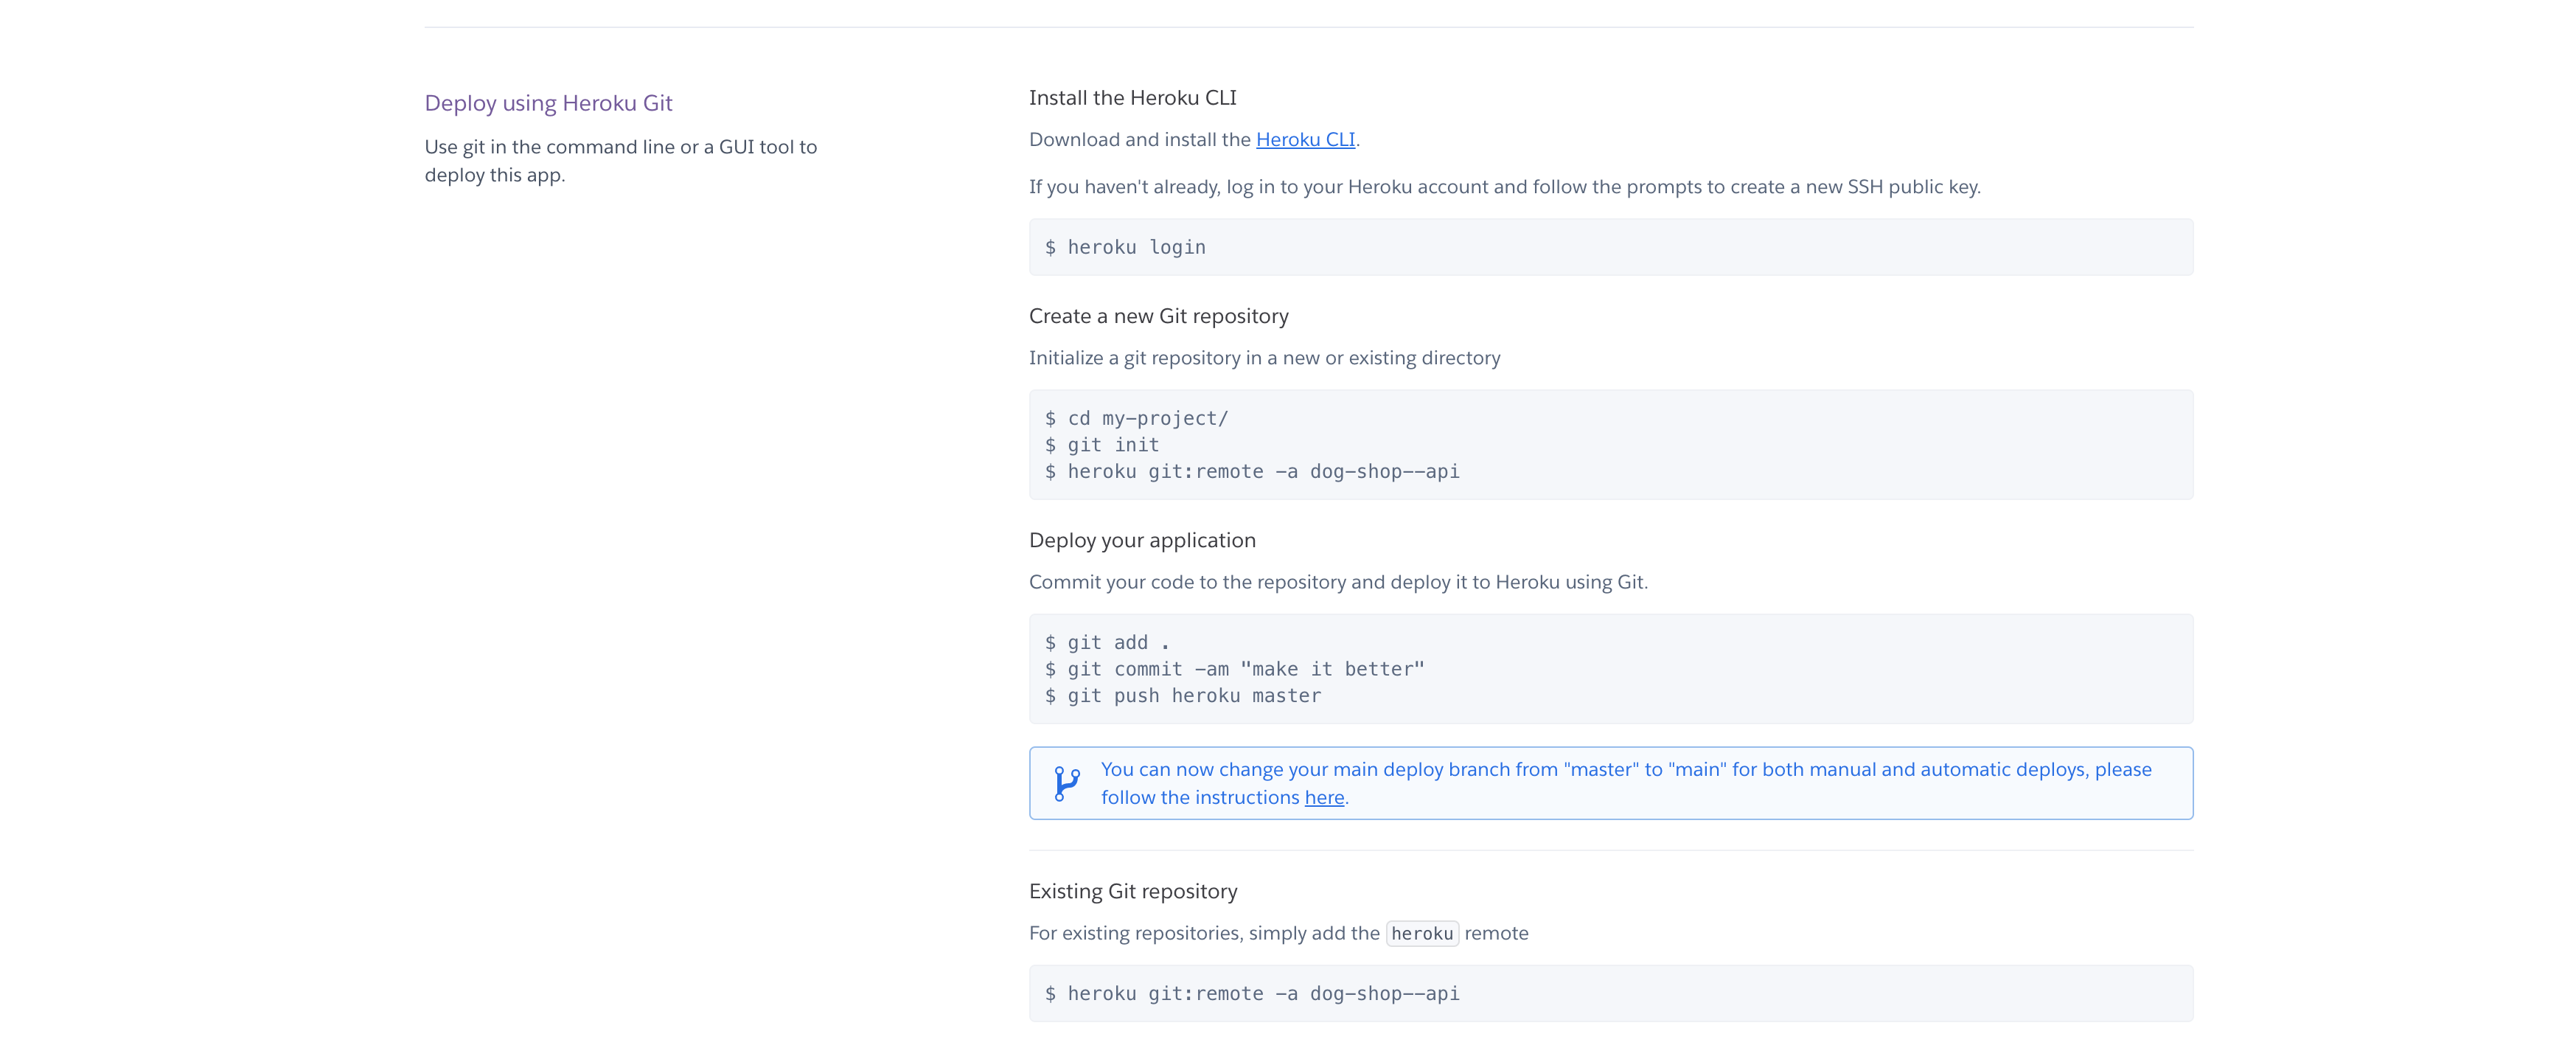
Run the git add . command to add all your files and:
git commit -am "initial commit"
and finally, we push it using:
git push heroku main
Note: The tutorial on the Heroku website says master but because git now uses the term 'main' as its default branch if the term master is used instead of main this will result in an error.
Now, you can copy and paste the link provided by Heroku to your browser to see your Vue JS application hosted on Heroku! Well done! 😀
Here is a link to a simple VueJS web application which was deployed to Heroku I created for the purpose of this article -> Dog shop


